The proven all-in-one platform to maximize ad revenue
Protect your ad revenue against invalid traffic and ad fraud
This post was most recently updated on November 25th, 2020
When implementing Header Bidding, you would normally have two sets of tags to deploy: the header tag that goes into the <head> </head> section, and the body tags that should go within the <body> </body> targeted where the ad should show.
Using Advanced Ads plugin on WordPress, here’s a step by step guide on how to quickly deploy your tags:
|
Black Friday Special: Get 30% off Advanced Ads by using the coupon code “BFCM2020”. Valid 26-30 November 2020. Click Here To Get The Discount! |
Step 1: Go to Advanced Ads > Ads
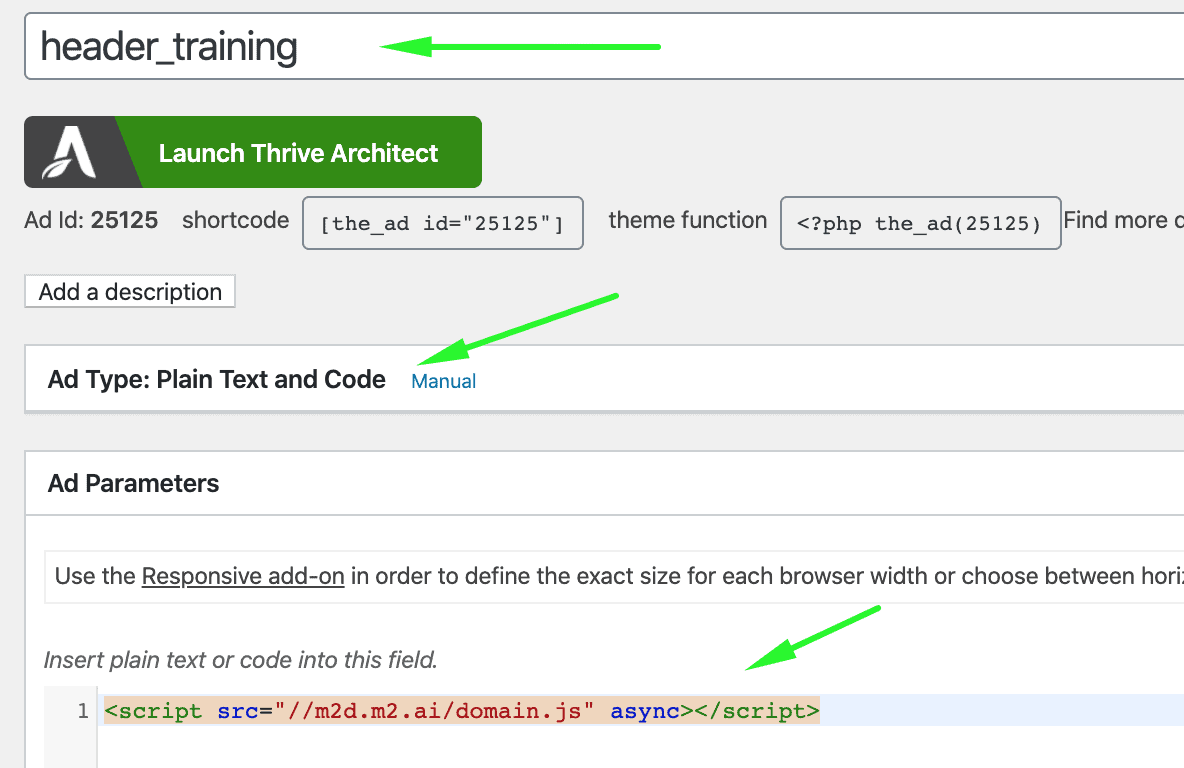
Step 2: Give it a name and choose the Ad Type.
Step 3: Deploy the ad code under ‘Ad Parameters’
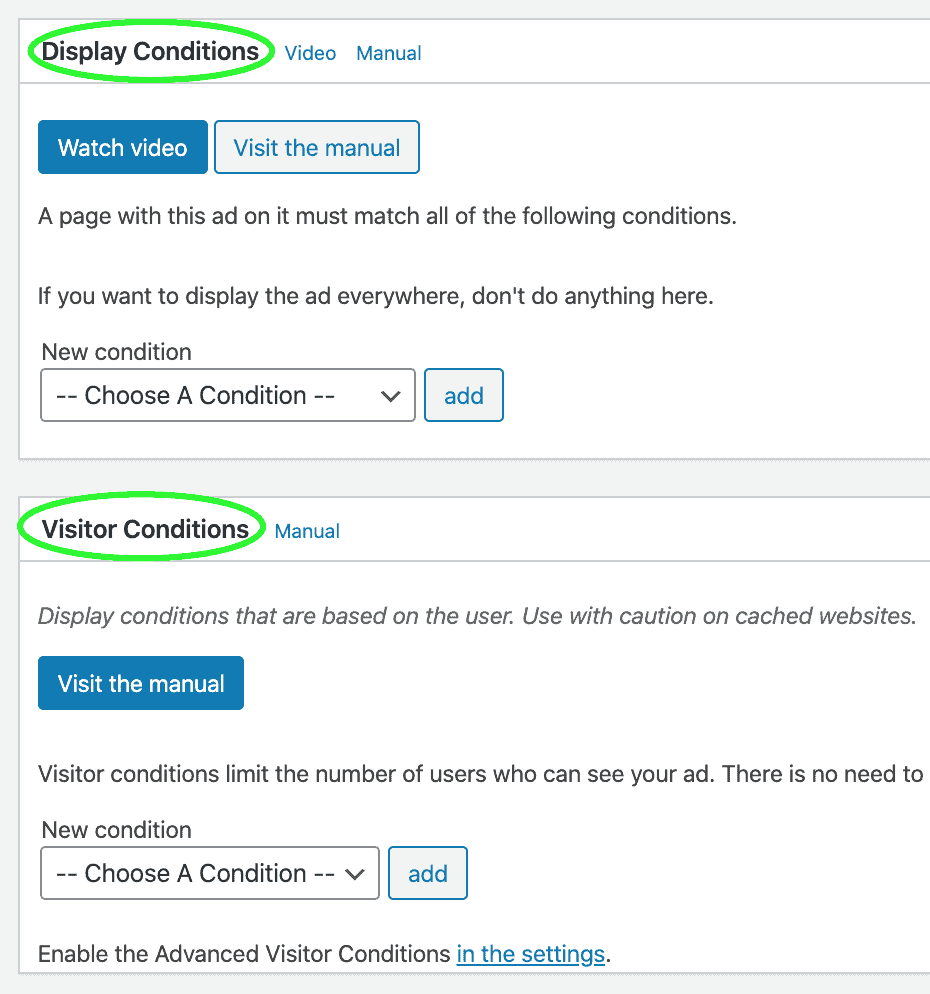
Step 4: Set Display Conditions & Visitor Conditions as necessary (optional)
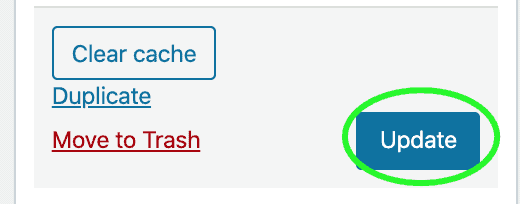
Step 5: Click ‘Update’
Step 6: Choose the ‘Header Code’ Placement.

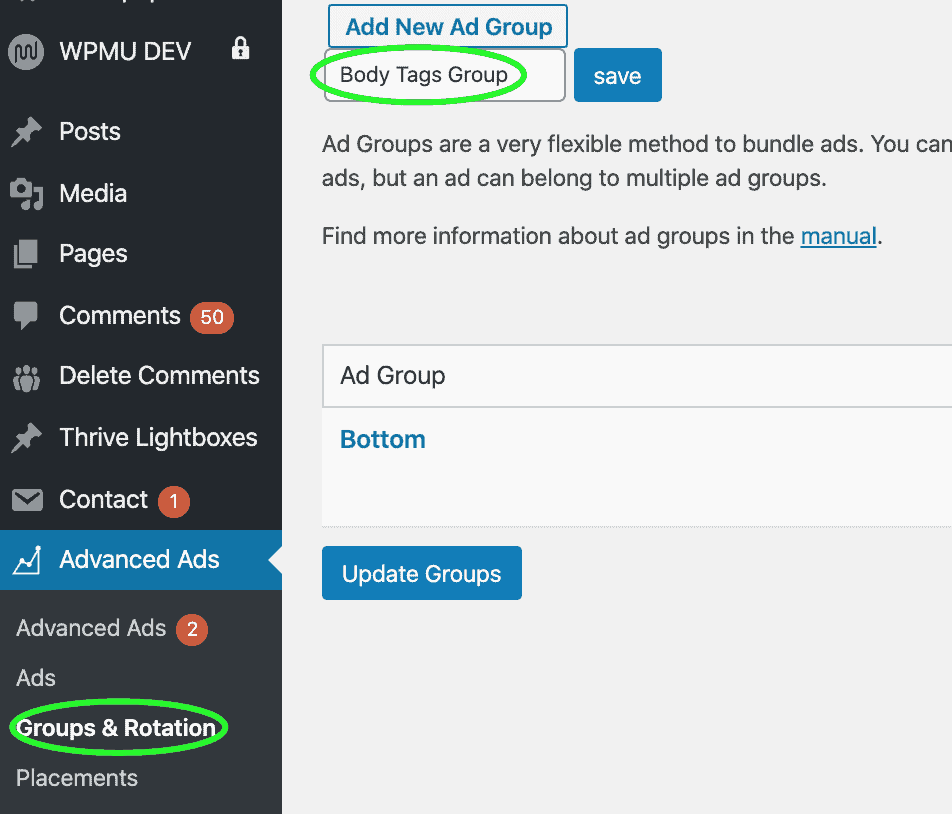
Step 1: Go to Advanced Ads > Groups & Rotation.
Step 2: Click ‘Add New Ad Group’
Step 3: Give it a name (e.g., Body Tags Group)
Step 4: Click save
Step 5: Go to Advanced Ads > Ads
Step 6: Give it a name, choose Ad Type.
Step 7: Paste the Ad Code under Ad Parameters
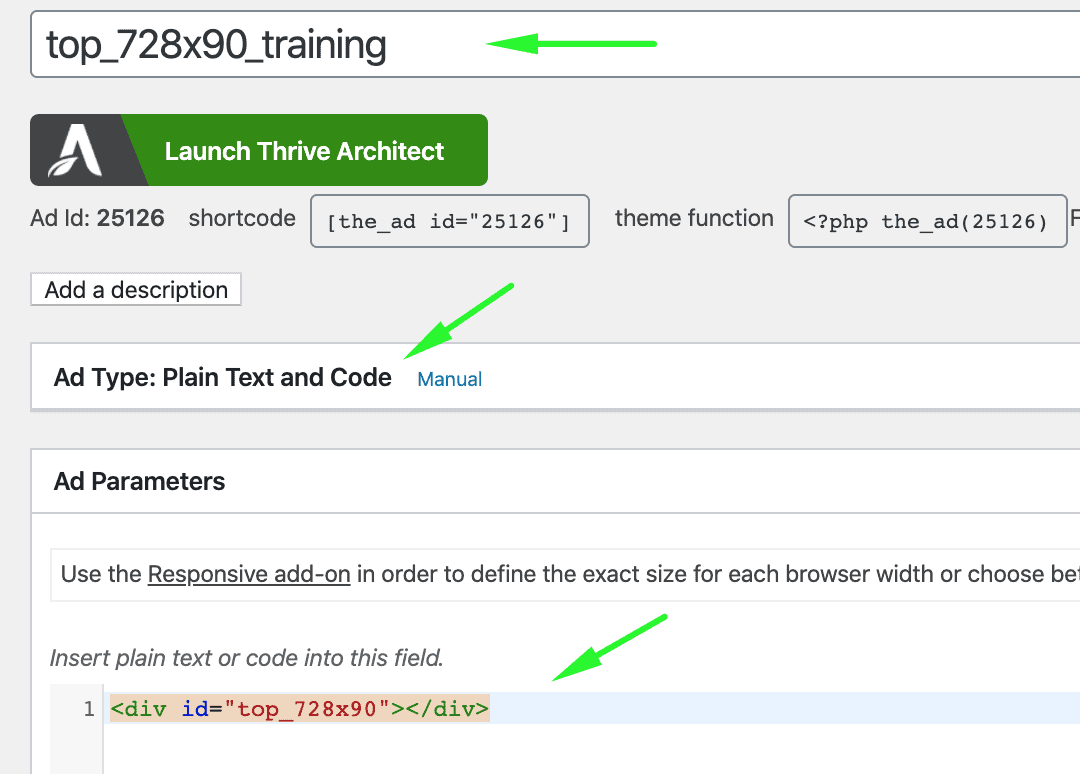
Step 8: Set the position (optional)

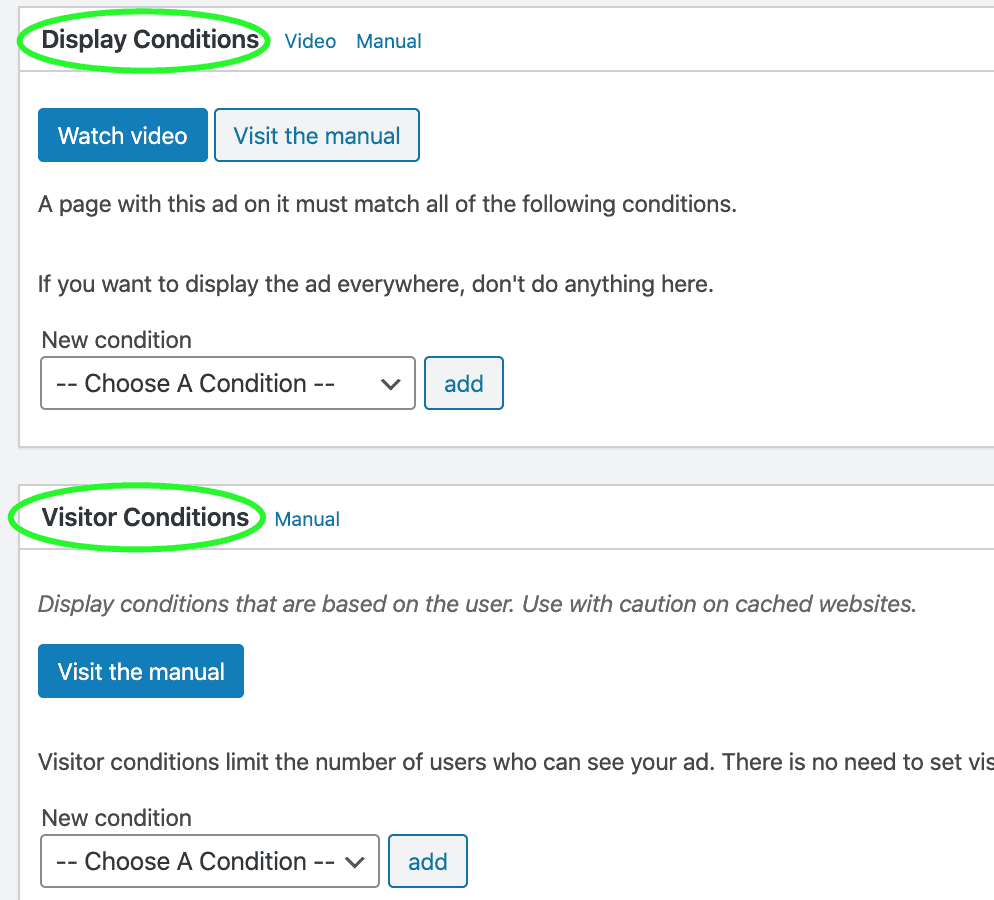
Step 9: Set Display Conditions & Visitor Conditions as necessary (optional)
Step 10: Select the Group created
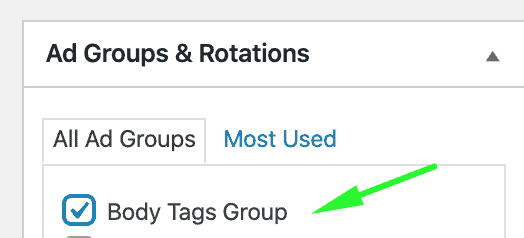
Step 11: Click Update
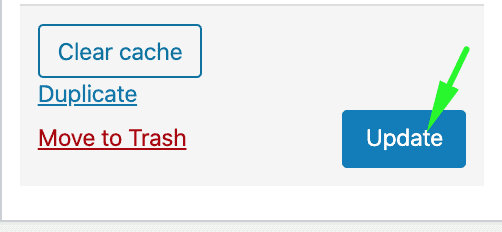
Step 12: Select the spot where you want the ad to show.

Step 13: Repeat steps 5-12 above for the rest of your ad codes.
Step 14: Go back to Groups & Rotation
Step 15: Edit the Body Tags Group you created
Step 16: Select Ordered Ads

Step 17: Specify the maximum number of ads you run per page

Step 18: Put the same weight across all the ads if you’d like them all to serve altogether at the same time

To learn more information on Ad Weights, check out https://wpadvancedads.com/manual/ad-groups/
Step 19: Test to see if your ads are loading fine!
This feature allows you to inject the ad repeatedly.

For example, you’d like it to show after every 3 paragraphs as users scroll down (usually the case in Lazy Loading), you can edit the Placement and set:
Step 1: Go to Advanced Ads > Placements
Step 2: Create a new Placement or edit the pre-existing one.
Step 3: Double-check the ‘Item’ that you have the correct Ad selected.
Step 4: Set Position settings

Step 5: Click ‘Save Placements’
This feature allows you to choose elements on a page where to inject the ad.
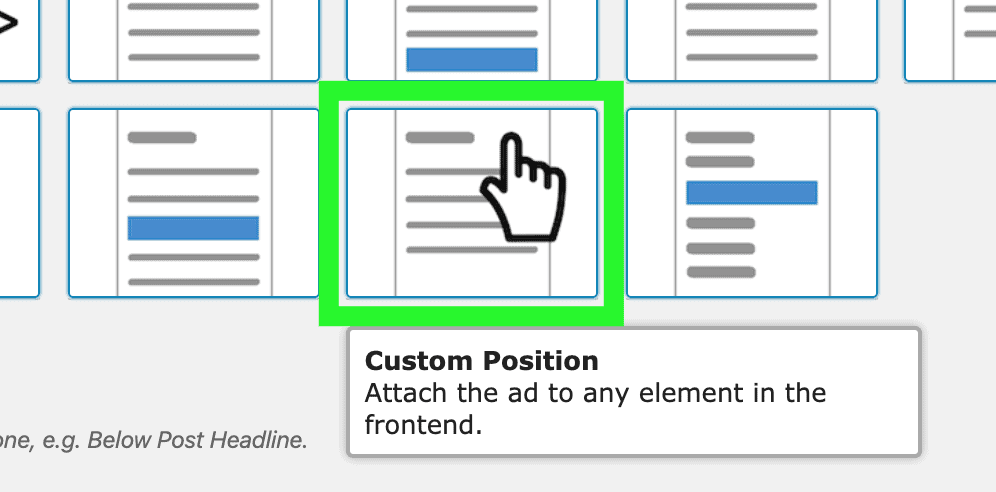
Step 1: Under Advanced Ads > Placements, create new or edit the pre-existing one that’s set as Custom Position.
Step 2: The ‘Item’ field should contain the ad you’d like to setup
Step 3: You can either enter the element manually or click ‘select position,’ which would open the webpage and allow you to hover your mouse to the exact spot to select an element.

Step 4: Select the exact position:

Step 5: Click ‘Save Placements’
As you can see, it’s not that complicated to implement header bidding using Advanced Ads. However, we understand that not everyone has the time to implement or set up header bidding on their own and might need help. In that case, MonetizeMore is here for you! We can help you get started with header bidding through our proprietary PubGuru Header Bidding technology! Sign up to MonetizeMore today!

10X your ad revenue with our award-winning solutions.