This post was most recently updated on January 18th, 2023
Google has been rolling out changes in the user interface without warning. The way you create Ad Units (learn more about it here) is no longer the same as before. It has been completely overhauled, causing publishers a lot of confusion. In this post, we’ll help you remove any confusion by showing you how to create ad units step by step with screenshots included.
Here’s a step by step breakdown depending on the type of ad units you’re creating in your Google Ad Manager account:
Step 1: Click ‘New Ad Unit’
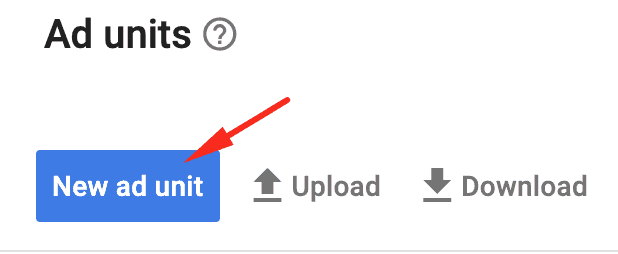
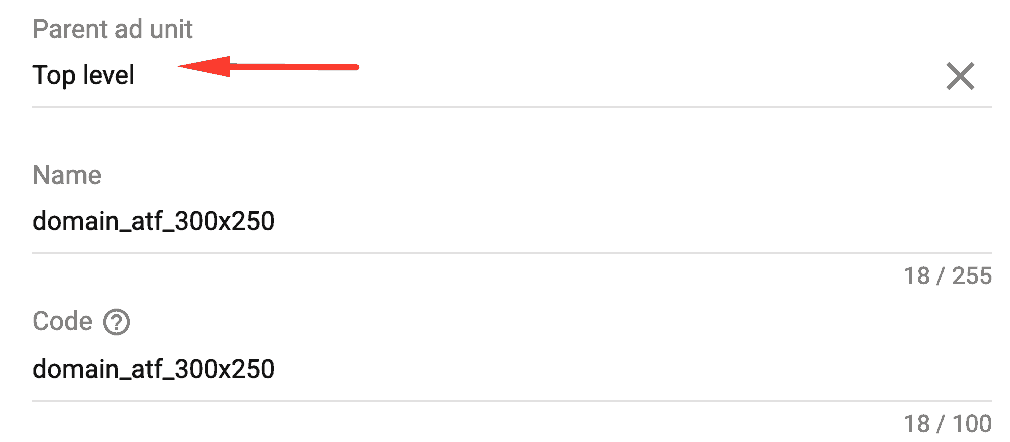
Step 2: Keep ‘Parent ad unit’ as ‘Top-level’, type in your ad unit name and code
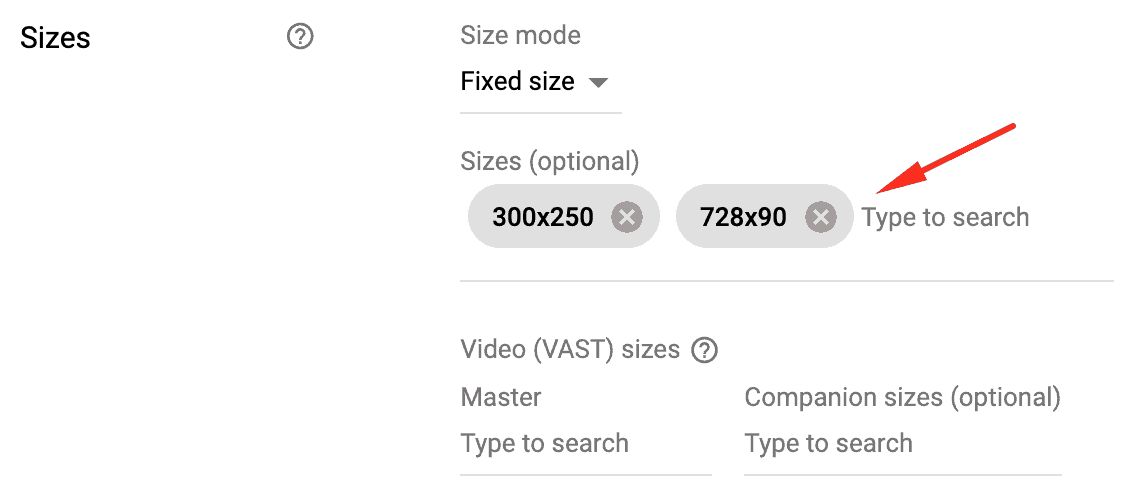
Step 3: Set the size/s

Step 4: Set the rest of the settings per your requirements, click save.
If you see any settings with this icon (highlighted below), it means that setting will be inherited by the child units nested under it if any:

Step 1: Click ‘New Ad Unit’

Step 2: Delete or clear the field for ‘Parent ad unit’ and select the Top Level ad unit you’d want to nest it under:

Step 3: Type in your ad unit name and code

Step 4: Set your size/s
Step 5: Set the rest of the settings per your requirements, click save.
If you see any settings with this icon (highlighted below), it means that setting will be inherited by the child units nested under it if any:

Step 1: Click ‘New Ad Unit’

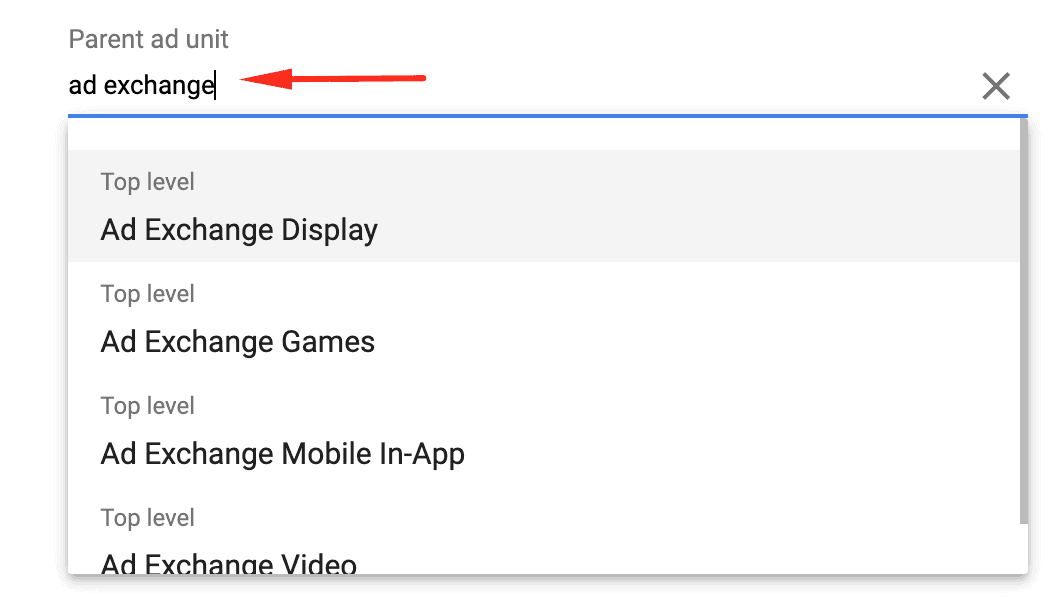
Step 2: Delete/clear the ‘Parent ad unit’ field and type in ‘ad exchange’. You can then select the appropriate parent ad unit from the drop-down
Step 3: Type in your ad unit name and code

Step 4: Set the ad size/s
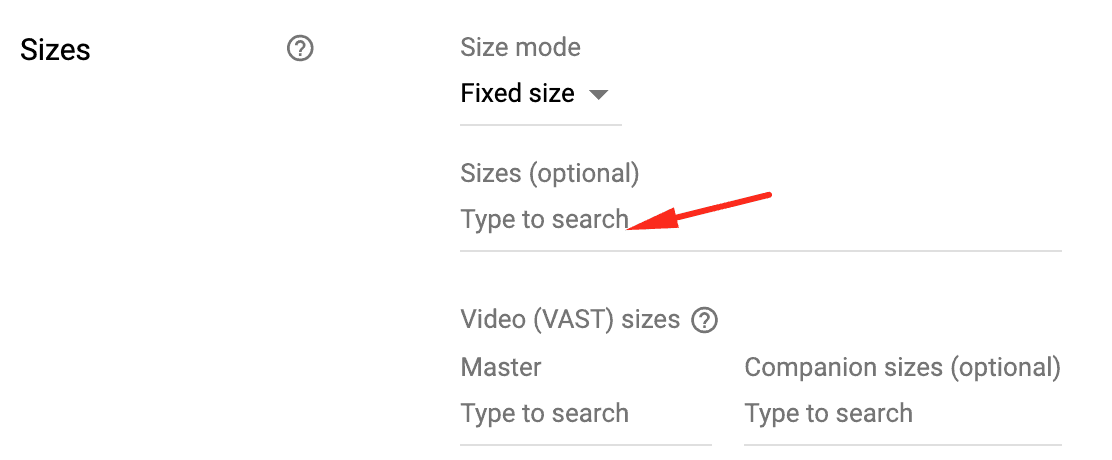
Step 5: Set the rest of the settings per your requirements, click save.
If you see any settings with this icon (highlighted below), it means that setting will be inherited by the child units nested under it if any:

Step 1: Click ‘New Ad Unit’

Step 2: Delete or clear the field for ‘Parent ad unit’ and type in the name of the Top Level ad unit you’d want to nest it under:

Step 3: Type in the ad unit name and code

Step 4: Set the ad size/s
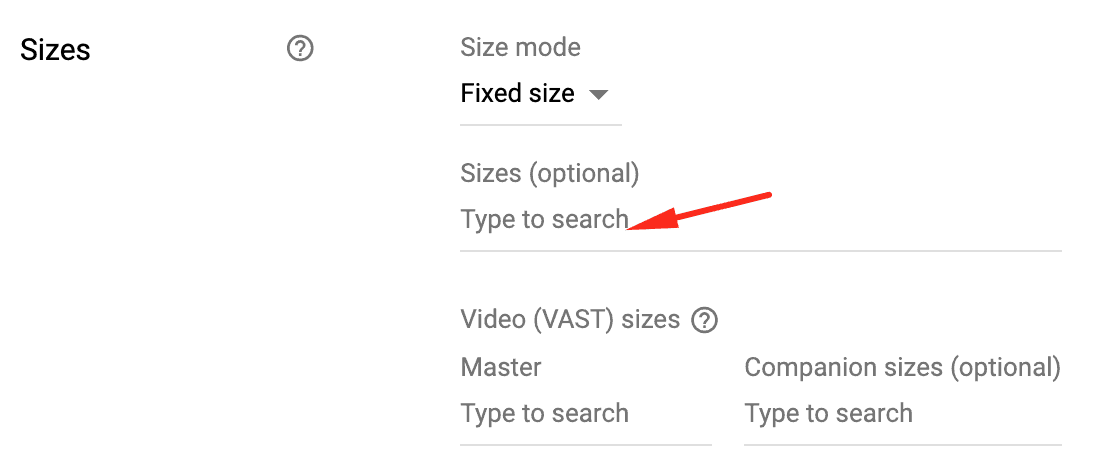
Step 5: Set the rest of the settings per your requirements, click save.
If you see any settings with this icon (highlighted below), it means that setting will be inherited by the child units nested under it if any:

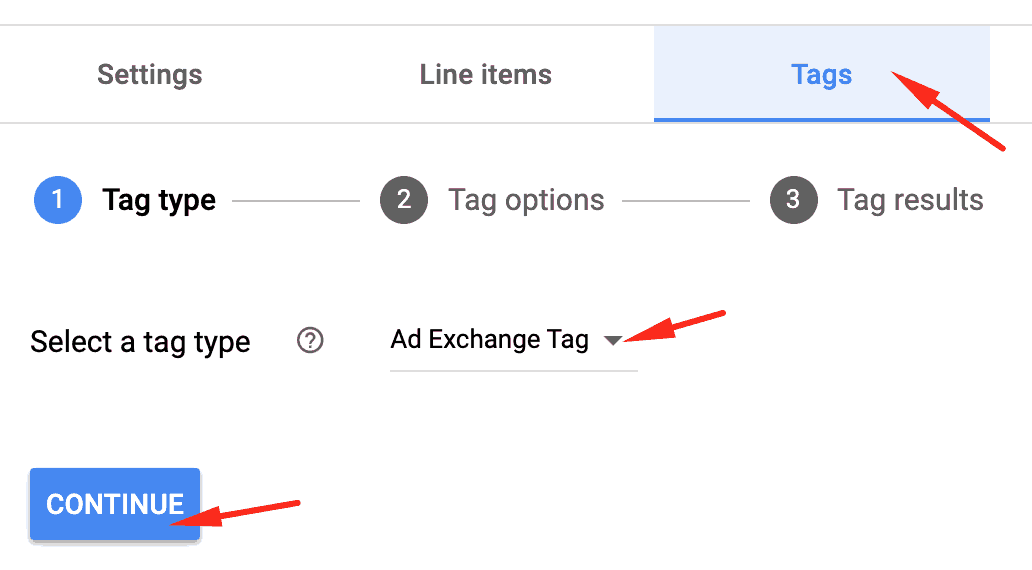
Step 1: Click the Ad Unit

Step 2: Click Tags

Step 3: Select tag type, click continue
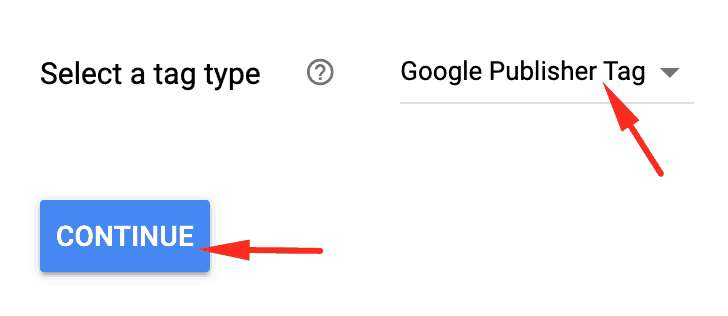
Step 4: Set all settings as needed, click continue
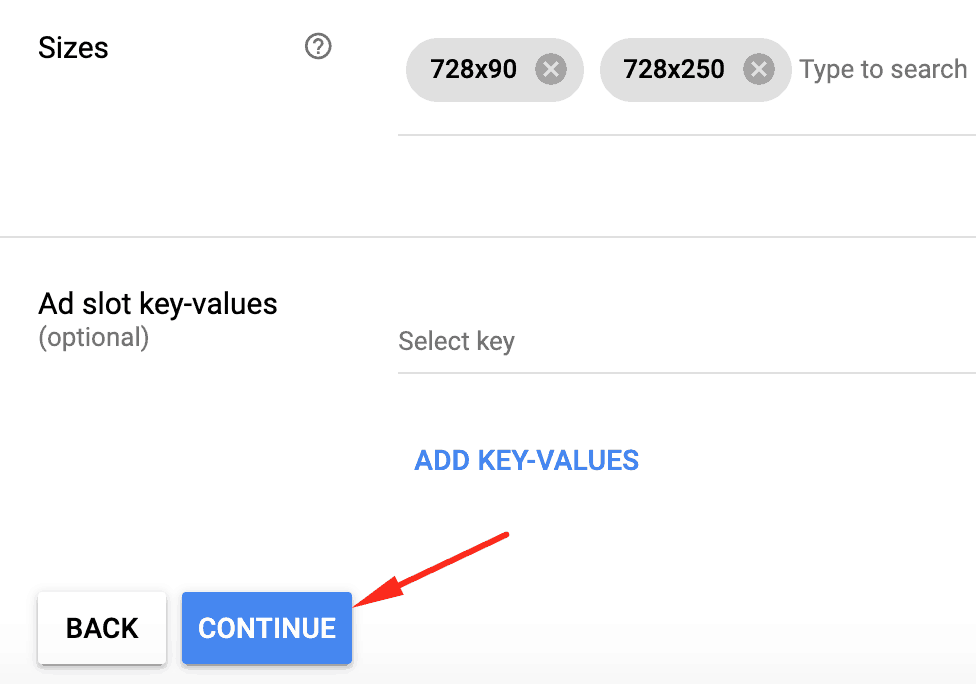
Step 5: Grab the header and body tag
Step 1: Filter the ad units list for the relevant Parent, then click the top-level ad unit or child units – depending on which one you’re trying to generate the tag for.
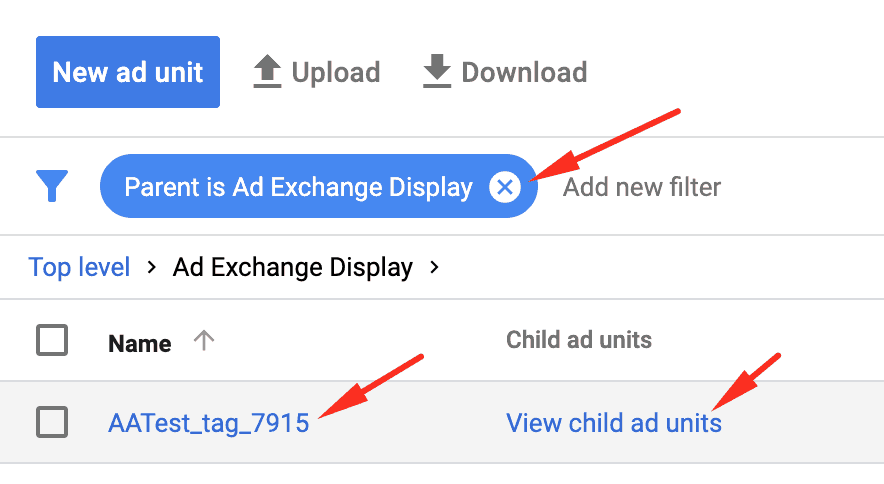
Step 2: Click on Tags
Step 3: Select the tag type, click continue
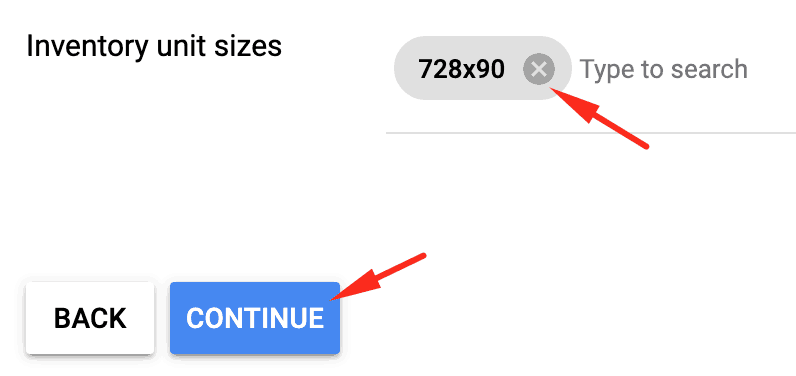
Step 4: Double-check that you have the correct inventory unit sizes, click continue
Step 5: Grab the Ad Exchange tag.
Still struggling with ad units and daily ad optimization tasks? Not sure how to optimize your ads, which ad units to prioritize, or which ad layouts to test out? Ad optimization requires a lot of expertise, experience, and time. Following outdated or faulty practices can even lead to a decrease in ad revenue. Let the experts do it all for you! MonetizeMore is a Google Certified Publisher partner, ready to take your ad revenue to the next level! Sign up for a Professional account at MonetizeMore today!

Kean Graham is the CEO and founder of MonetizeMore & a pioneer in the Adtech Industry. He is the resident expert in Ad Optimization, covering areas like Adsense Optimization,GAM Management, and third-party ad network partnerships. Kean believes in the supremacy of direct publisher deals and holistic optimization as keys to effective and consistent ad revenue increases.


10X your ad revenue with our award-winning solutions.